Physical Address
304 North Cardinal St.
Dorchester Center, MA 02124
Physical Address
304 North Cardinal St.
Dorchester Center, MA 02124


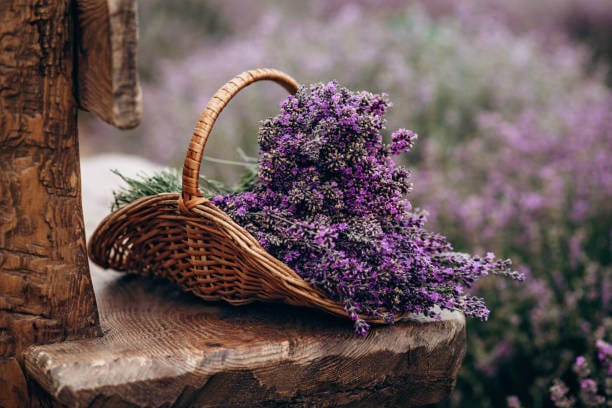
Ready to bring the soul of the Mediterranean to your garden?
Discover wild thyme seeds, starter plants, and soil mixes carefully selected for dry, sun-loving herbs:
Ready to bring the soul of the Mediterranean to your garden?
Discover wild thyme seeds, starter plants, and soil mixes carefully selected for dry, sun-loving herbs:
Ready to bring the soul of the Mediterranean to your garden?
Discover wild thyme seeds, starter plants, and soil mixes carefully selected for dry, sun-loving herbs:
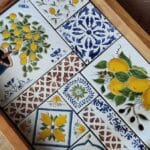
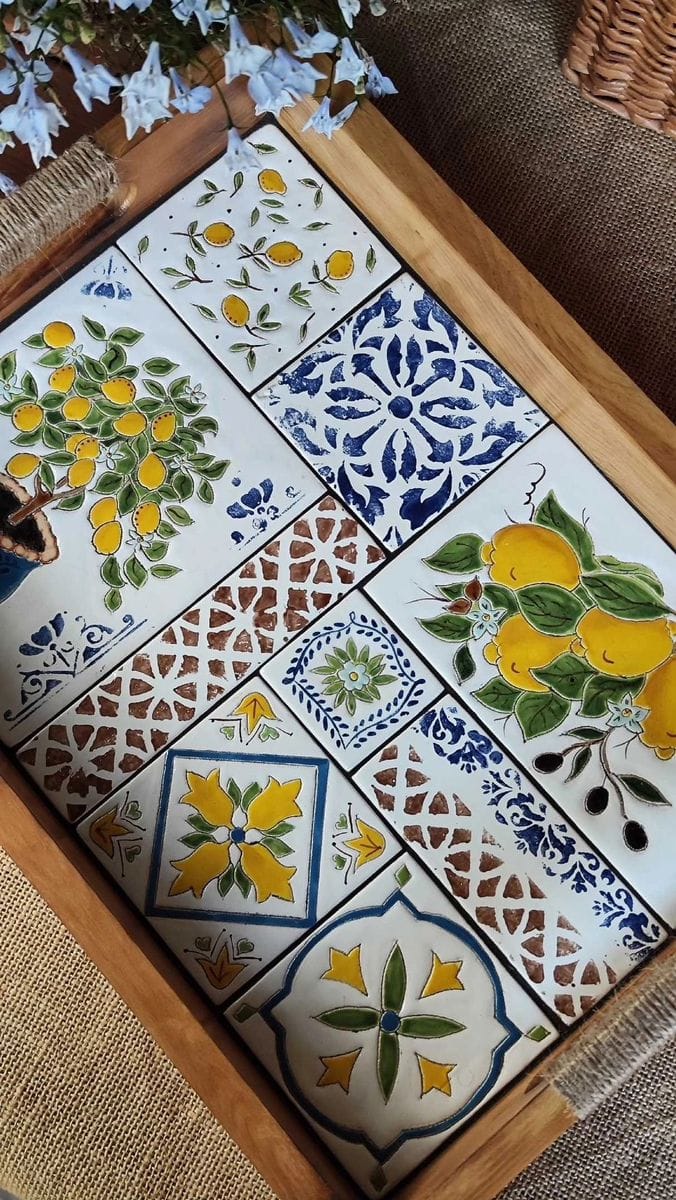
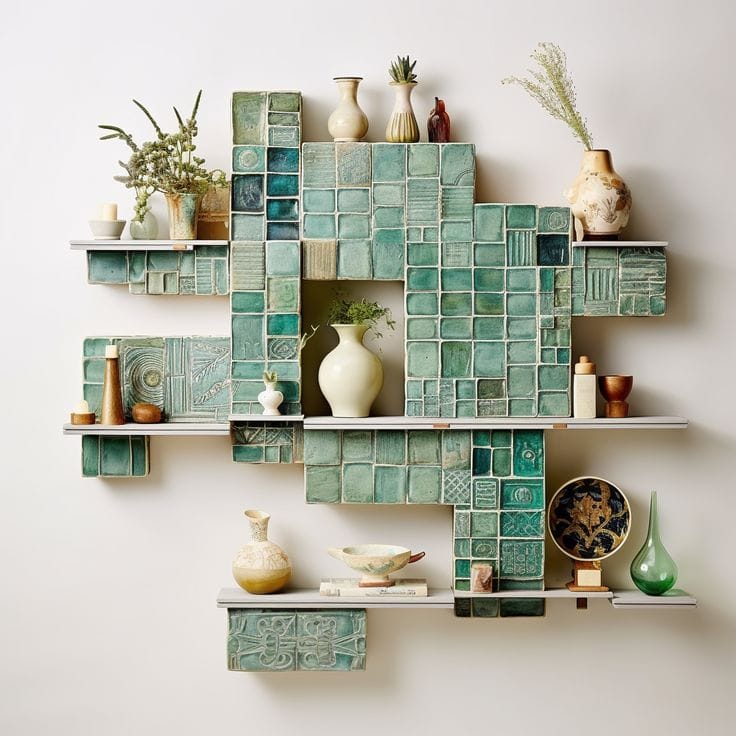
Seriously, enough with those mass-produced posters that might look nice but say absolutely nothing about you. If you want authentic, unapologetic art in your home — make it yourself. Ceramic tiles are surprisingly magical (and massively underrated) when it comes to adding that personal depth to your space — the kind you just can’t buy from some furniture store for three hundred bucks and a bunch of compromises. This guide isn’t just a checklist. It’s an experience. Your chance to create something with your own hands that will last years, not crumble like your patience after assembling an IKEA wardrobe.
We’ll cover the whole journey: from choosing the right tile to installing your hand-painted masterpieces. No fluffy “follow your muse” talk, no wishy-washy advice, and definitely no soulless beige tiles screaming “I gave up.” We’re diving into design, surface prep, painting, sealing — and even why your tile might act like your phone battery: full of promise one moment, then mysteriously unreliable the next. But first — the base.
The tile. It’s your canvas. Pick the wrong kind, and your paint won’t stick, your lines will bleed, or worse — it’ll all peel off like a bad sticker. Choose right, and your artwork will last for years, through heat, moisture, and time.

Ready to brin the soul of the Mediterranean to your garde
Bisque tiles unpainted use underglazes
Let’s skip the clichés — we’re not here to glue seashells on bathroom walls. If you want your hand-painted ceramic tiles to look stunning and survive real life (yes, including kitchen messes and bathroom steam), you need to start with the right base tile. Not all ceramic is created equal, and some tiles absorb paint like a sponge in a bathtub — unevenly, weirdly, and permanently wrong.
Look for unglazed, bisque-fired tiles — they’re matte, slightly porous, and feel like a blank canvas. Literally. These tiles are made to hold on to paint, glaze, or whatever else you throw at them (artistically, of course). If you go with glossy tiles straight from the hardware store, good luck: your brushstrokes will slip like oil on marble, and the color might peel off faster than a bad mood.
Texture matters too. A smooth, even surface makes your life easier — your lines stay crisp, your colors behave, and your nerves stay intact. Try scratching the surface lightly with your nail: if it feels chalky and holds the mark, you’re golden. Bonus? These tiles dry fast and handle firing like pros.
And let’s talk size — because yes, it matters. Smaller tiles are great for testing patterns or trying new styles. Larger tiles? Perfect for going bold, dramatic, maybe even telling a story tile by tile. Pick the shape and scale that fits your vision — not what some trend list says is “in” this month.Choose smart now, and you’ll thank yourself later — when your finished piece isn’t just pretty but permanent.

My ideas are just one option. Don’t be afraid to break away from templates and come up with something of your own. In handicrafts, there is no “right” or “wrong” — there is only your mood, story, and feelings. Painting is a game, an experiment, intuition. Trust yourself, and even the smallest details will sound special. This is how a true author’s style is born


Grab a pencil. Yes, an actual pencil — not “I’ll just figure it out in my head.” Because even if you’re the freestyling type, sketching your tile design will save your sanity later. What are you going for? Minimalist geometry? Floral grandma-core? Moody, abstract swirls that scream “I saw a storm once and never forgot”? All fair game — but get it on paper.
This stage isn’t about drawing the Sistine Chapel. It’s just ceramic mood-boarding. Doodle shapes, play with proportions. Are your tiles going to be classic squares? Long, lean rectangles? Maybe some weird trapezoid situation? However wild or tame your idea is, sketching helps you visualize how your pieces will actually work together. It’s not just about the tiles — it’s about the composition.
✔️ Think color palettes: warm earth tones or cool Mediterranean blues?
✔️ Texture: slick and polished, or grainy with personality?
✔️ Extra effects: raised lines, carved-out patterns, sgraffito drama?
Trust me: future-you will thank present-you for figuring this stuff out ahead of time instead of having a creative breakdown mid-project because “something just doesn’t feel right.”

My ideas are just one option. Don’t be afraid to break away from templates and come up with something of your own. In handicrafts, there is no “right” or “wrong” — there is only your mood, story, and feelings. Painting is a game, an experiment, intuition. Trust yourself, and even the smallest details will sound special. This is how a true author’s style is born


One of the biggest mistakes is working with tiles separately, without seeing the whole visual solution. First, create a general palette and style on a mood board in Canva or Miro, and only then move on to individual elements.
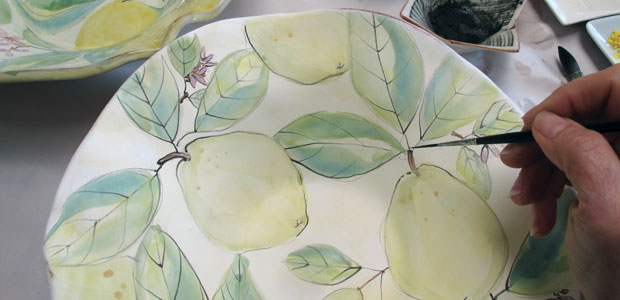
Underglaze — your go-to workhorse Underglaze pigments are applied to bisque-fired ceramics before the final firing and then sealed under a clear glaze. After the second firing, the color becomes an integral, scratch- and water-resistant part of the surface—think of it as the devil carrying a Prada bag: tough, unshakeable, and surprisingly refined.
This technique delivers exceptional durability, making it ideal for everyday kitchenware, dining sets, and planters both indoors and out. The color stays true—no fading under harsh light or constant use—and it adapts seamlessly to any style, whether you’re painting intricate illustrations or blocking out bold swathes of color.
That said, underglaze does come with limits: its palette leans toward the understated, lacking the metallic gleam of overglaze enamels, and once you lay down a stroke, there’s no “Ctrl+Z” after glazing. It’s perfect for projects demanding longevity and function, but if your aesthetic calls for minimalist purity (no decoration at all) or extravagant textures and metal finishes, you might want to explore other methods.
Pro tip: If you crave a watercolor wash on ceramics, dilute underglaze pigments with water and build up transparent layers before glazing—an elegant bridge between pottery and fine art.
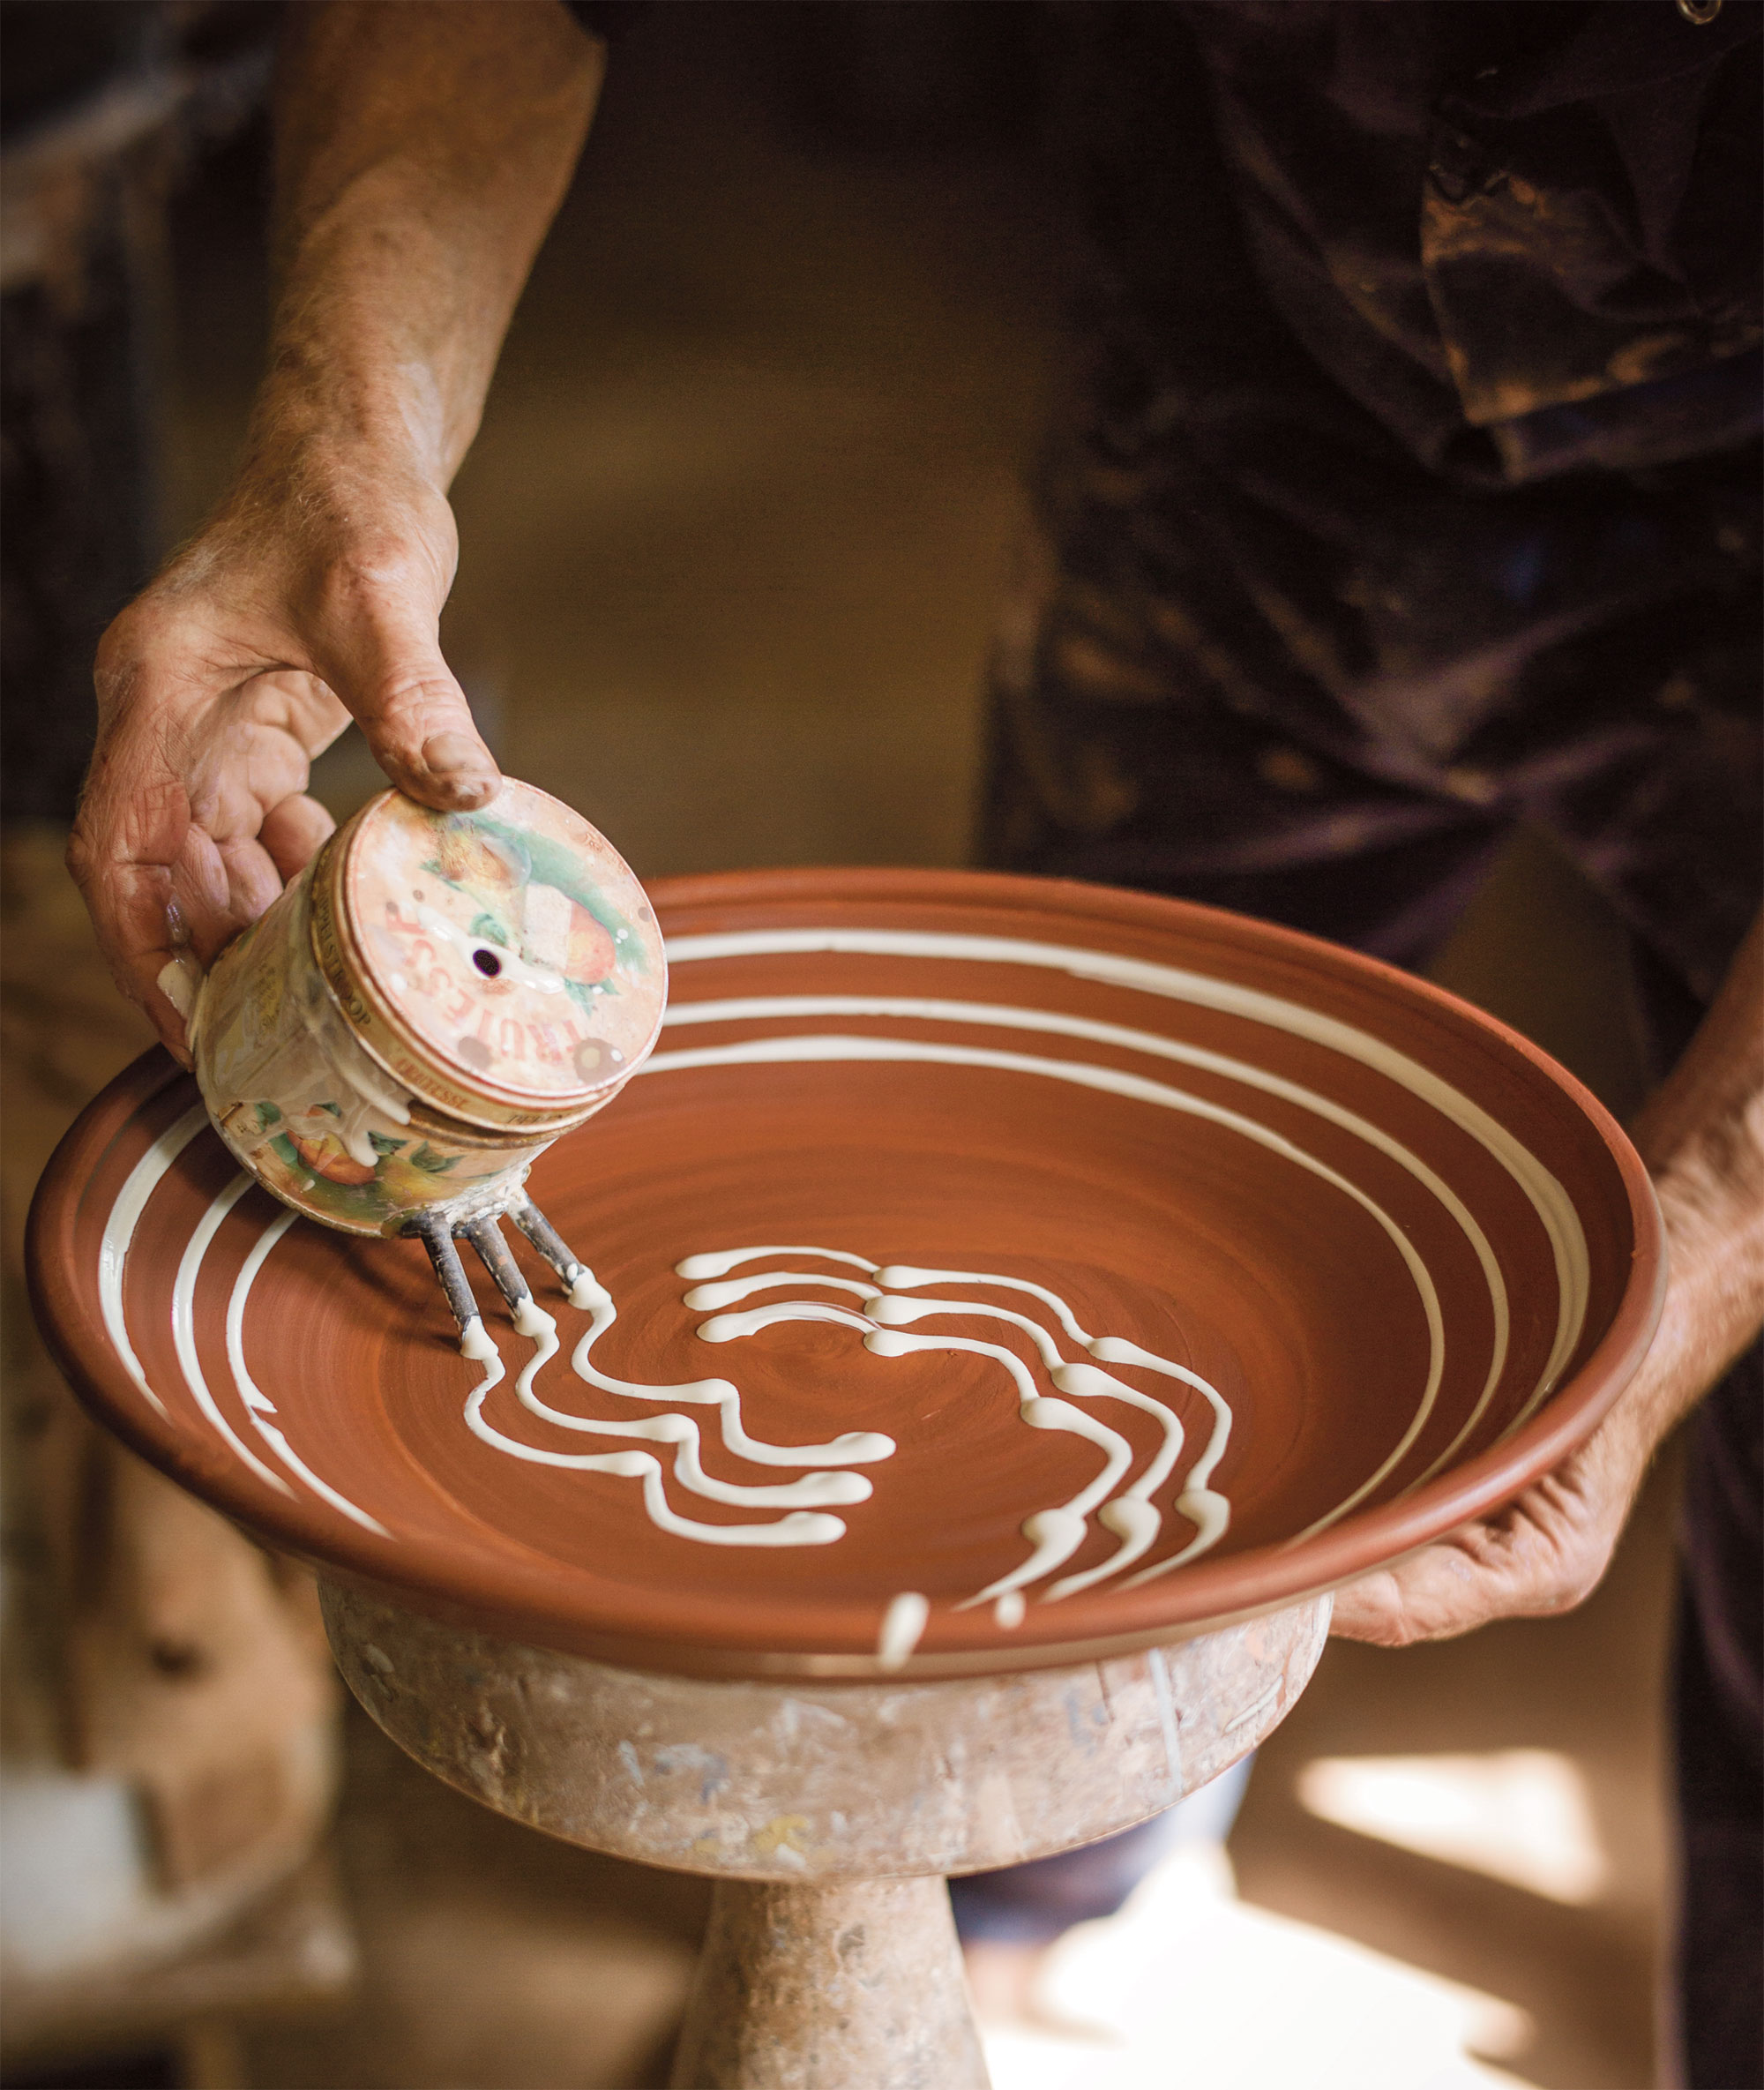
Slip is essentially liquefied clay mixed with pigments — a thick, muddy paint for those who don’t just want to decorate ceramics but shape their personality into it. You apply it to leather-hard or even bone-dry pieces, then carve, layer, trail, or stamp it in while it’s still wet. Once fired, the result is rich in texture, depth, and visual rhythm. Think of it less as a finish and more like terrain.
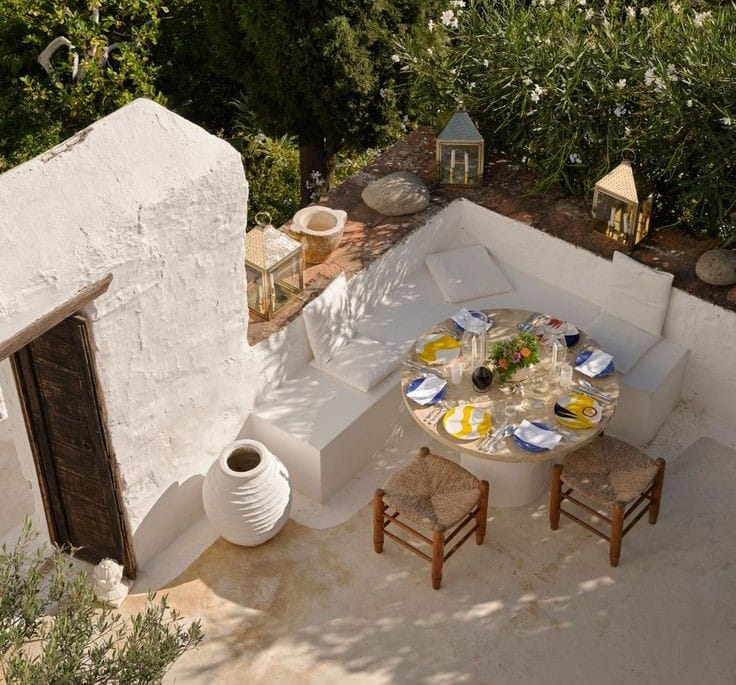
This technique is a go-to if you’re after something tactile — textured surfaces that feel hand-crafted, human, slightly imperfect in the best way possible. It’s particularly at home in rustic kitchens, garden patios, cozy cafés with uneven tables and overgrown herbs, or anywhere “perfect” would be an insult.
But slipware has its lane. If your style screams high-gloss minimalism, pristine geometry, or futuristic sleekness, it’s going to clash hard — slipware isn’t here to blend in. It’s earthy, grounded, and sometimes a little messy — in a good way.

Source: YouTube -How to Decorate Pottery with Slip–Reida Sage
Pro tip: Slip isn’t just for patterns — you can layer it thick and carve into it like clay graffiti or drag combs across for a brutalist textile vibe. Want more drama? Combine slip with sgraffito (scratching through the surface) or let it drip and crackle for an unpolished aesthetic that feels alive.

Here’s the truth: acrylic paint plus a clear sealant isn’t a traditional ceramic technique. It’s the shortcut — the IKEA hack of surface design. You’re not aiming for museum-grade durability here; you’re going for impact with minimum fuss.
It works brilliantly for pieces that will never see a dishwasher or a soup ladle: wall plates, decorative tiles, vases, cachepots, or that random thrifted ceramic chicken you decided to rescue. The color payoff can be intense, the style range is basically unlimited, and you skip the whole kiln schedule.
Where it shines:
Where it dies quickly:
Pro tip: If you want this to not scream “weekend craft project,” layer your paint in glazes, scuff it lightly for depth, and finish with a non-gloss sealant. That matte finish can make a $3 thrift store vase look like a $60 boutique piece.

The most hands-on and controlled method? Brushing. You build it up layer by layer: apply a thin coat, let it dry, repeat. Never more than three coats — after that, the surface starts acting like sour cream in a sauna. But if you’re into precision, detail, and predictability, this is your safe space. Best for small batches or pieces where control matters more than speed.
If you’re going for quantity — say, thirty flower pots in one go — dipping is your hustle. Just mix your finish properly: no lumps, no foam. Dip, lift, done. Clean, even coat. As long as your hands don’t shake like you’ve had six espressos. Too thick? Craters. Too thin? It slides off like your motivation at 3 AM.
Feeling adventurous? Try pouring. Just dump the finish over your piece and tilt it around. Let gravity do the design work. You can even mix glazes for wild, organic reactions. Heads up: this is for people who can accept that Pinterest lies.
For the ones chasing a polished, professional look — spraying is your tool. Equipment-heavy, but results are smooth and gorgeous. No brush marks, no drips. You can pull off gradients or coat big surfaces fast. Just don’t do it in your kitchen unless you’re into recreational lung damage.
If the tile will be on a kitchen backsplash, in a bathroom, or on a windowsill, work with underglaze or slipware — these are the only techniques that can handle daily life and moisture.If it’s wall décor, you can safely go with acrylic + sealant — it looks great, costs little, but remember: not for damp bathrooms or direct sunlight.
Smooth surface, minimal porosity, nothing absorbs — the perfect base for tests.
Don’t start a batch of 30 until you see how it applies, how it holds, and how it changes after firing (or if it turns the color of dry cement).
▸ Print it out or build one in Canva/Miro with examples of tiles, techniques, and placement conditions — mark what fits.
It’ll quickly filter out daydreams and show you the reality.